Capacitive Soil Humidity Hygrometer Moisture Sensor SENS54, R14
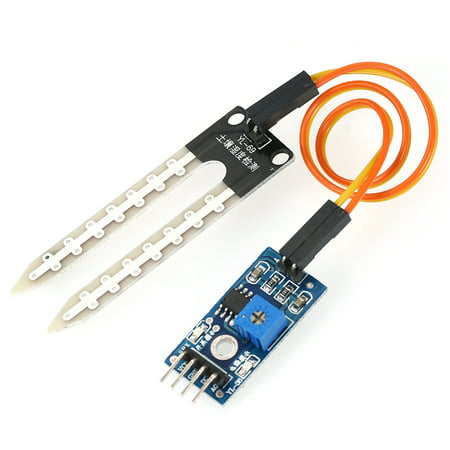
This product measures soil moisture levels by capacitive sensing, rather than resistive sensing like other types of moisture sensor. It is made of a corrosion resistant material giving it a long service life. Insert it into soil and impress your friends with the real-time soil moisture data.
FEATURES
- Supports Gravity 3-Pin Interface
- Analog Output
APPLICATIONS
- Gardening & Farming
- Moisture Detection
- Intelligent Agriculture
SPECIFICATION
- Operating Voltage: 3.3 ~ 5.5 VDC
- Output Voltage: 1.2 ~ 2.5V
- Interface: PH2.0-3P
- Dimension: 98mm * 23mm (3.86in x 0.905in)
- Weight: 15g
Getting started with the Capacitive soil moisture sensor
This product measures soil mositure levels by capacitive sensing, rather than resistive sensing like other types of moisture sensor. It is made of a corrosion resistant materal giving it a long service life. Insert it into soil and impress your friends with the real-time soil moisture data!
Hardware required
Calibration Code
void setup() {
Serial.begin(9600); // open serial port, set the baud rate as 9600 bps
}
void loop() {
int val;
val = analogRead(0); //connect sensor to Analog 0
Serial.print(val); //print the value to serial port
delay(100);
}
NOTE:If you get stray ‘226’ in program the problem is with your ” ” and – characters. Replaces them with ordinary quotes “ and – And you should be fine.
Calibration Range

- Open the serial port monitor and set the baud rate to 9600
- Record the sensor value when the probe is exposed to the air as “Value 1”. This is the boundary value of dry soil “Humidity: 0%RH”
- Take a cup of water and insert the probe into it no further than the red line in the diagram
- Record the sensor value when the probe is exposed to the water as “Value 2”. This is the boundary value of moist soil “Humidity: 100%RH”
Section Settings
The final output value is affected by probe insertion depth and how tight the soil packed around it is. We regard “value_1” as dry soil and “value_2” as soaked soil. This is the sensor detection range.
For example: Value_1 = 520; Value_2 = 260.
The range will be divided into three sections: dry, wet, water. Their related values are:
- Dry: (520 430]
- Wet: (430 350]
- Water: (350 260]
Hardware required
- Arduino Uno
- Capacitive soil moisture sensor
- Jumper Cable x3
Connecting the Hardware
Connect the Capacitive soil moisture sensor to the arduino UNO as shown below,

TEST CODE
const int AirValue = 520; //you need to replace this value with Value_1
const int WaterValue = 260; //you need to replace this value with Value_2
int intervals = (AirValue – WaterValue)/3;
int soilMoistureValue = 0;
void setup() {
Serial.begin(9600); // open serial port, set the baud rate to 9600 bps
}
void loop() {
soilMoistureValue = analogRead(A0); //put Sensor insert into soil
if(soilMoistureValue > WaterValue && soilMoistureValue < (WaterValue + intervals))
{
Serial.println(“Very Wet”);
}
else if(soilMoistureValue > (WaterValue + intervals) && soilMoistureValue < (AirValue – intervals))
{
Serial.println(“Wet”);
}
else if(soilMoistureValue < AirValue && soilMoistureValue > (AirValue – intervals))
{
Serial.println(“Dry”);
}
delay(100);
}
Frw 6,000






.jpeg)
